If you are just joining this blog series, make sure to check out Behind the Floral: Parts One, Two, and Three for tips on inspiration, drawing, and getting your image on the computer & cleaned up.
Week four! This week we will be adding color and turning your flower into a vector.
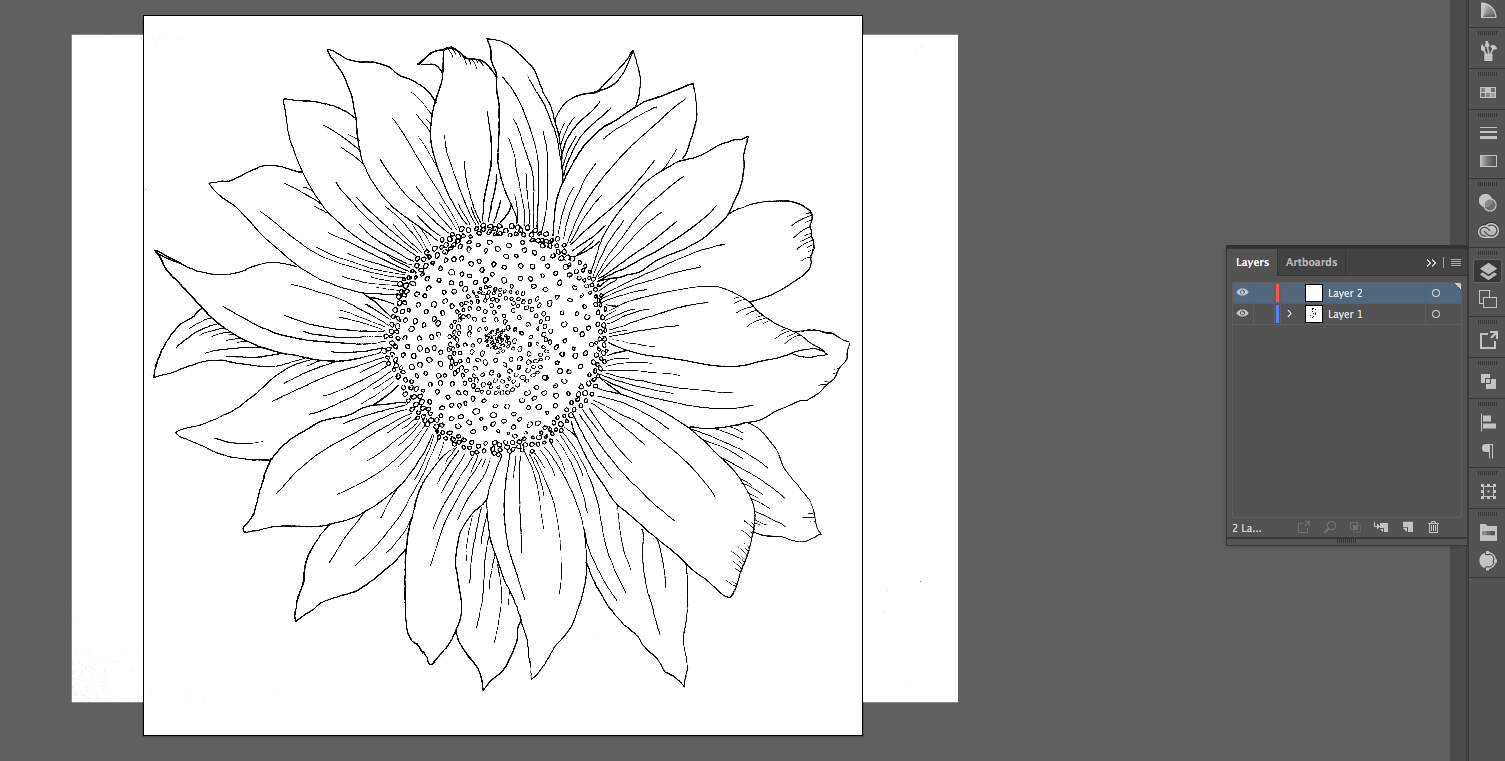
Open Adobe Illustrator. You can create a new canvas any size you want. I usually do something like a 10″x10″ unless my illustration calls for something else. Once you have your new canvas open, do File > Place and place your image on the canvas.
In your layers panel, create a new layer above your image and lock your image layer.
![]()
Now, on your new {unlocked} layer, use the pencil tool to start tracing the flower where you’d like color. I usually trace the flower as a whole if I don’t want to layer the petals, but this sunflower would probably look better if I trace each individual petal. Also do the center. Think about how you are drawing and how the shapes you create will be layered. Hint: do shapes in the background first.
The pencil outline doesn’t need to be filled in a particular color right now, but you might want to have them outlined so they are easy to see, but you can still see the lines underneath. I usually have mine outlined in hot pink so they are easy to see. Things will look messy before they look good!
I use my Wacom tablet to help get the shapes the way I want them, but don’t worry you can use your mouse, too! The lines DO NOT have to be perfect. I actually prefer them not to be, to make it more unique.
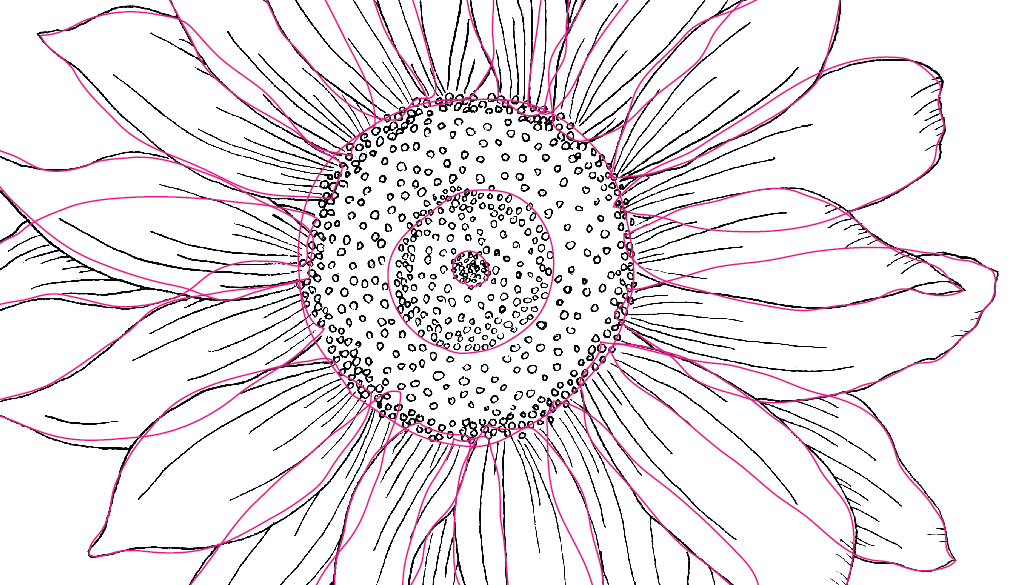
Once you have your lines drawn you can use the direct select tool to move anchor points to correct places, fix up lines, etc.
Once you have everything in place, start adding color to the shapes you drew.
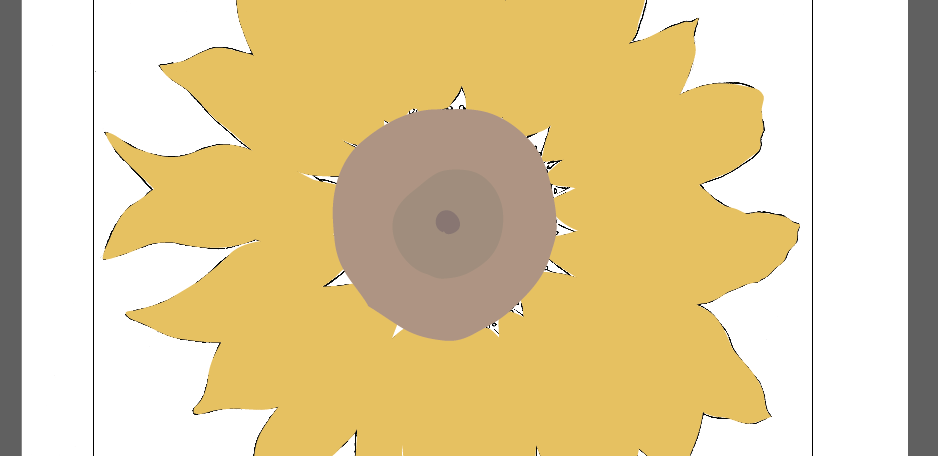
Next unlock the source image layer. Take the image off the canvas. I tend to hold shift as I move the image so it will stay in line with my vector image.
With the image selected, click trace image. You may get a warning it will move slowly, just click OK. Open you image trace options {window > image trace}. Under the advanced settings, select ignore white. Adjust the settings to your image looks clean. Then click expand {top navigation bar}. Now you have a vectorized image!
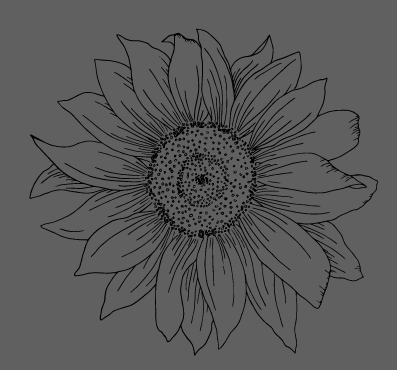
Now move your image back to the canvas. Try and line it up under the color image. If you held shift when you initially dragged it off, you can hold shift again and it will stay in line. You may see little pieces of black behind, that is ok!
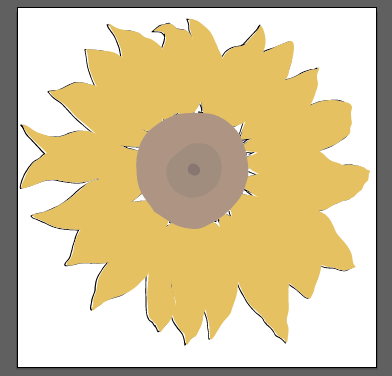
Now go to your layers panel and put the lines layer on top of the color layer. Now you will see your detail appear! Now you can change the color of your vectorized lines if you want, add a background, etc.
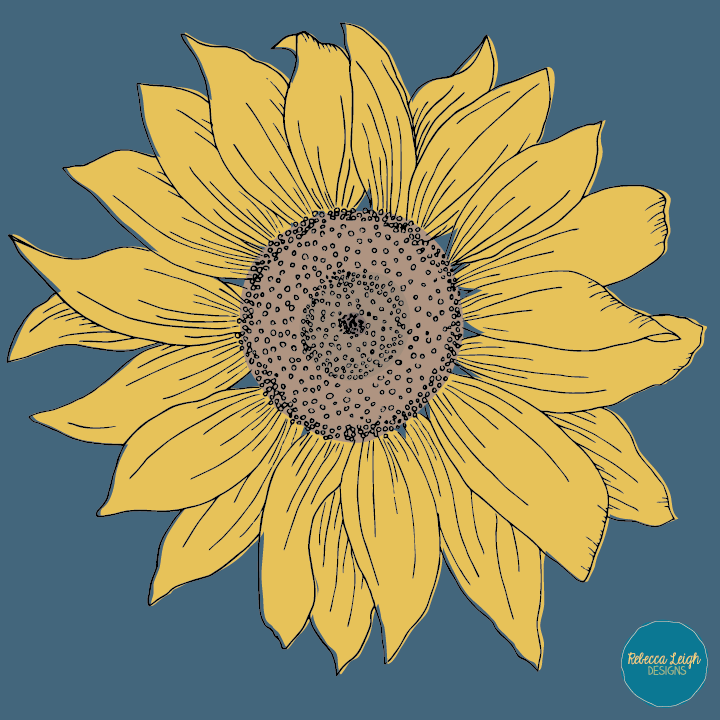
Once you have the coloring the way you want it and you add a background, you should be all done! I’d love to see what you created! If you post it on social media, tag me {IG} @rebecca_leigh_designs {f} Rebecca Leigh Designs {t} @R_L_Designs and tag it with #behindthefloral
Thanks for joining me in the blog series! I hope you enjoyed it! I’d love to hear from you – if you have any comments or questions, please let me know below in the comments section!
Here is a look at how this tutorial will be broken down so you can follow along!
Want more!?
I usually add texture and mess with my image some more. If you interested in learning more details about this process, such as adding texture to your florals, please let me know! Tell me in the comments below, or let me know on social media – I’ll add more parts to this tutorial if there are people interested!