If you are just joining this blog series, make sure to check out Behind the Floral: Part One for tips on how to find good inspiration photos of flowers.
Welcome back! Today we are going to talk about DRAWING the flowers you found inspiration for last week. I know drawing can sometimes be intimidating, but don’t worry! No one is judging you, just try your best!
Looking at your flower images, think about which angle you’d like to draw the flower. Straight on is a great place to start.
Let’s draw!
I start with pencil, but if you feel comfortable, jump right in with a pen! Put pencil (or pen) to paper. Computer paper or in a sketchbook, it doesn’t matter! Drawing a flower, while it may look complex, is quite simple if you look at what makes the flower. You’ll see lots of curved lines – remember this as you draw each piece of the flower.
Start at the center {pistil} of the flower, this will help you reference out distance and spacing. For a sunflower, it is drawing a {not perfect} circle. Notice the details. Thing about curved lines and dots to help capture the detail.
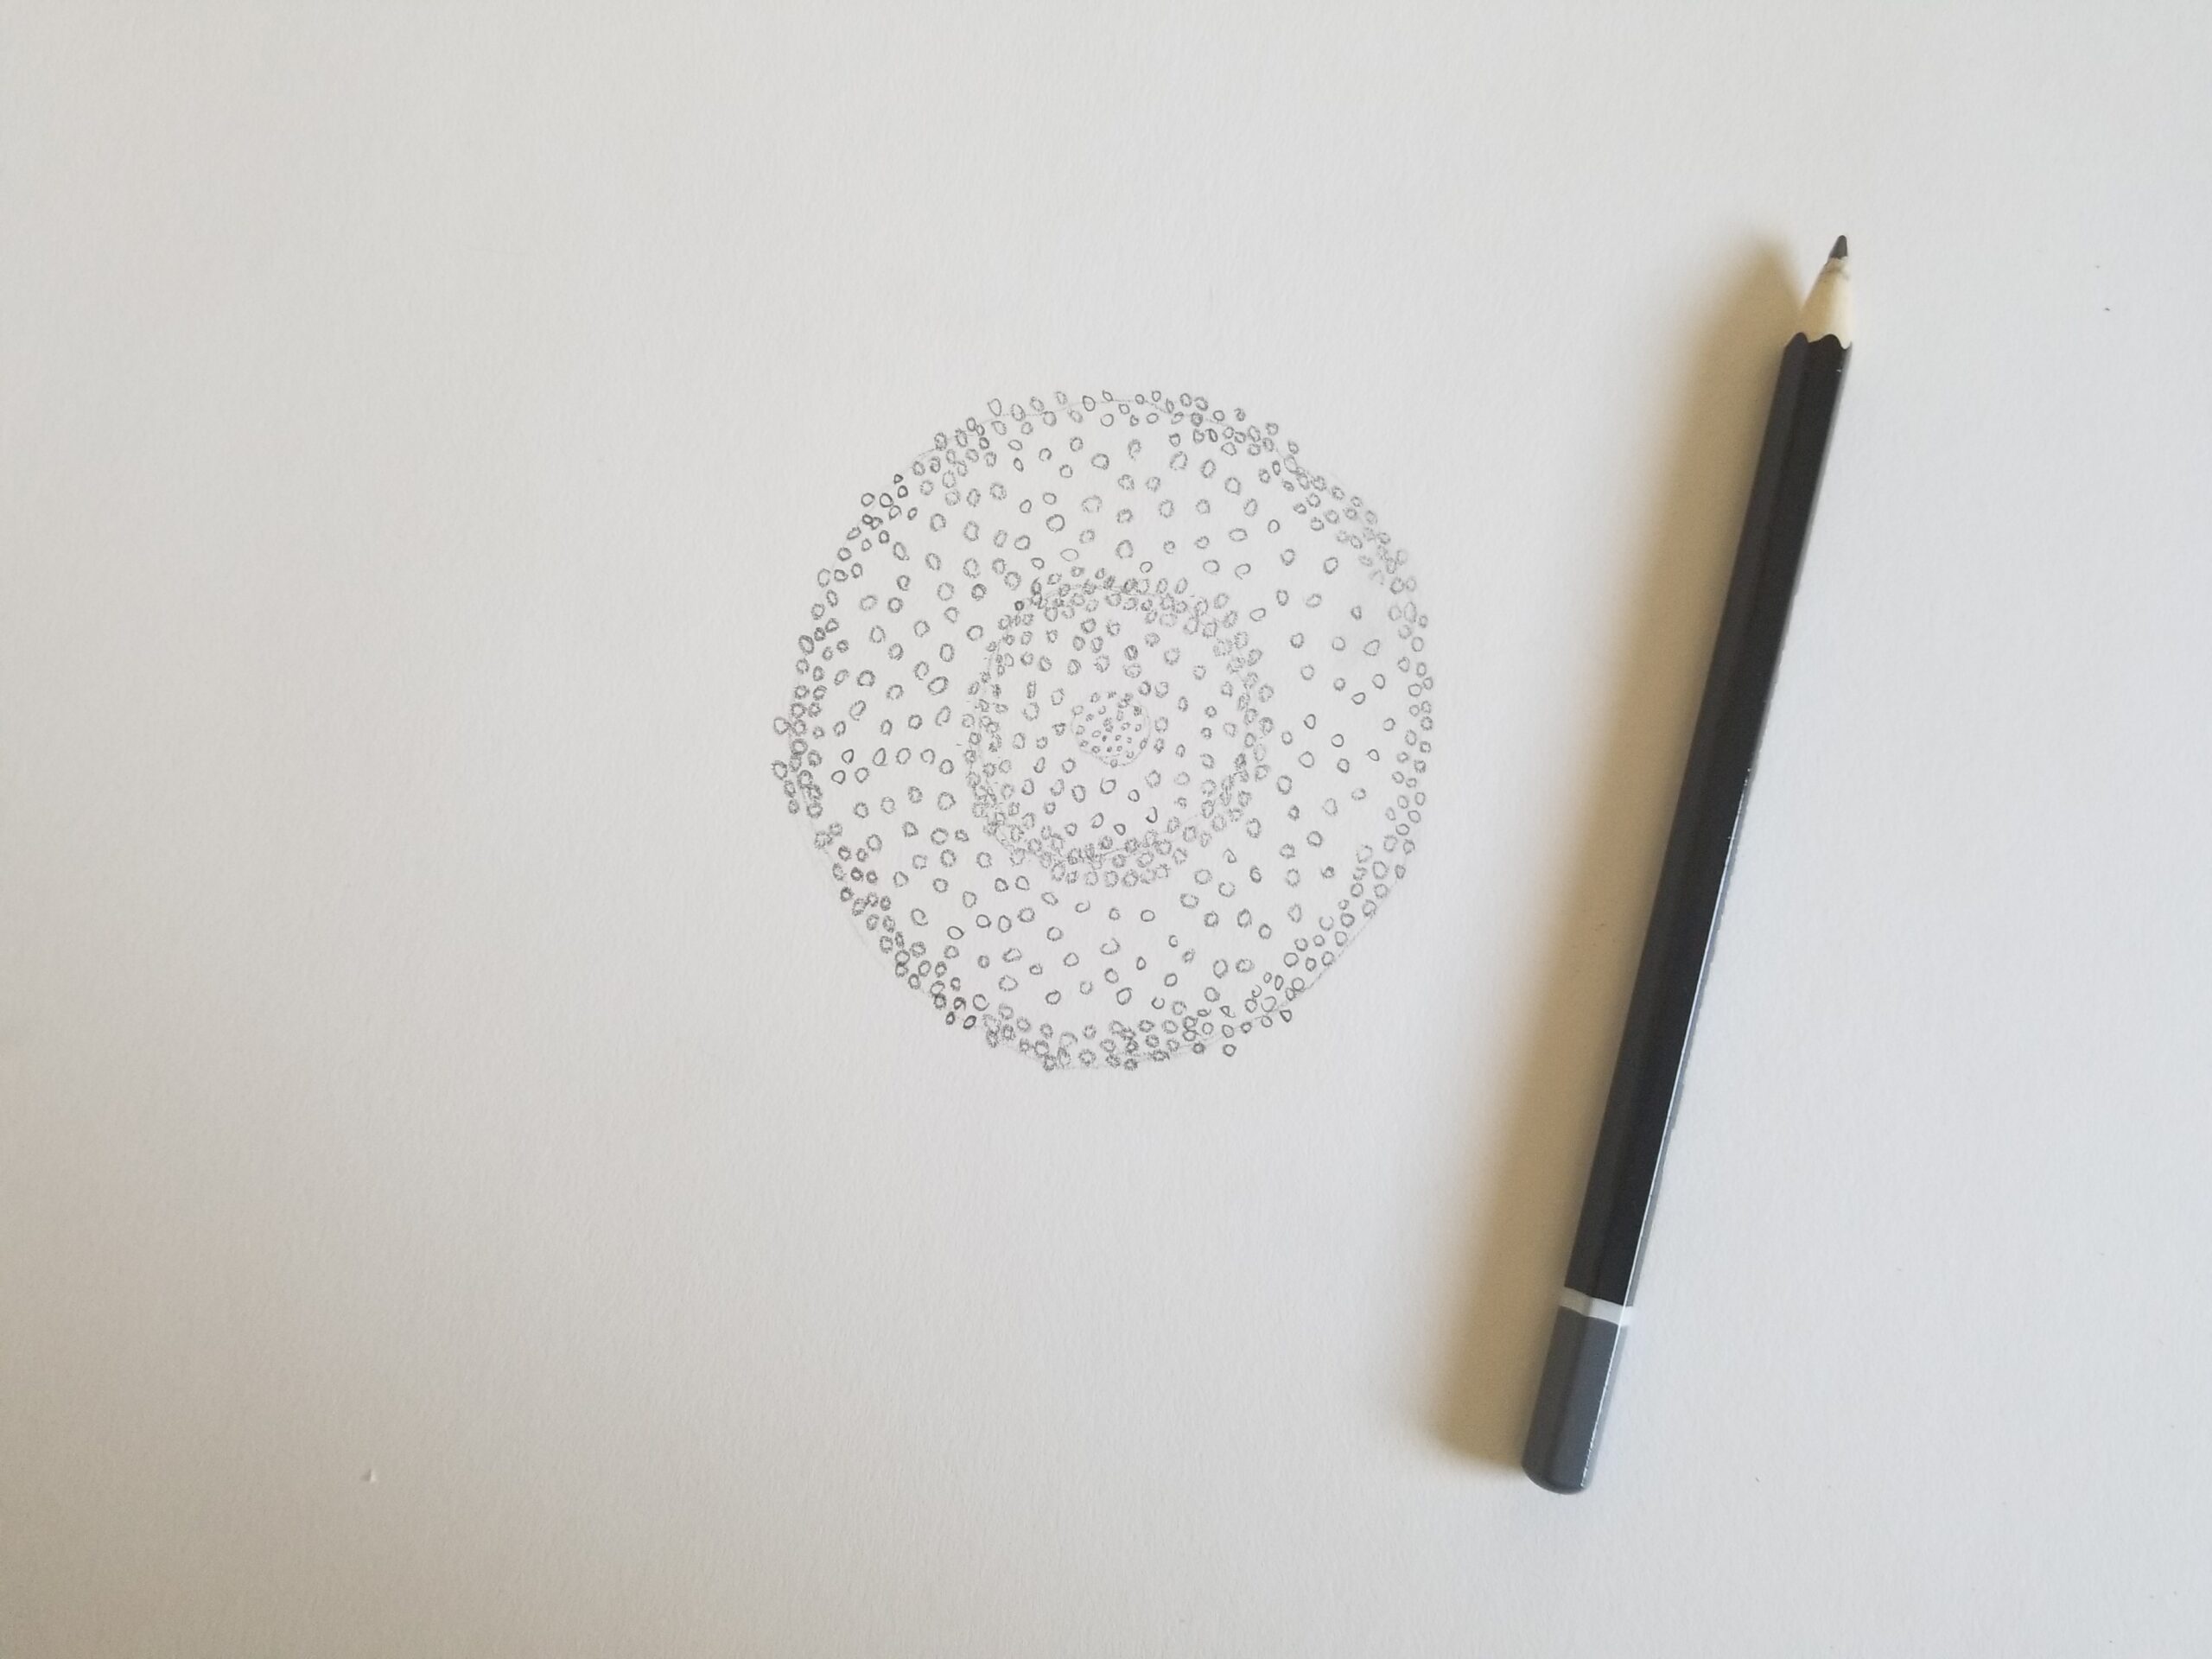
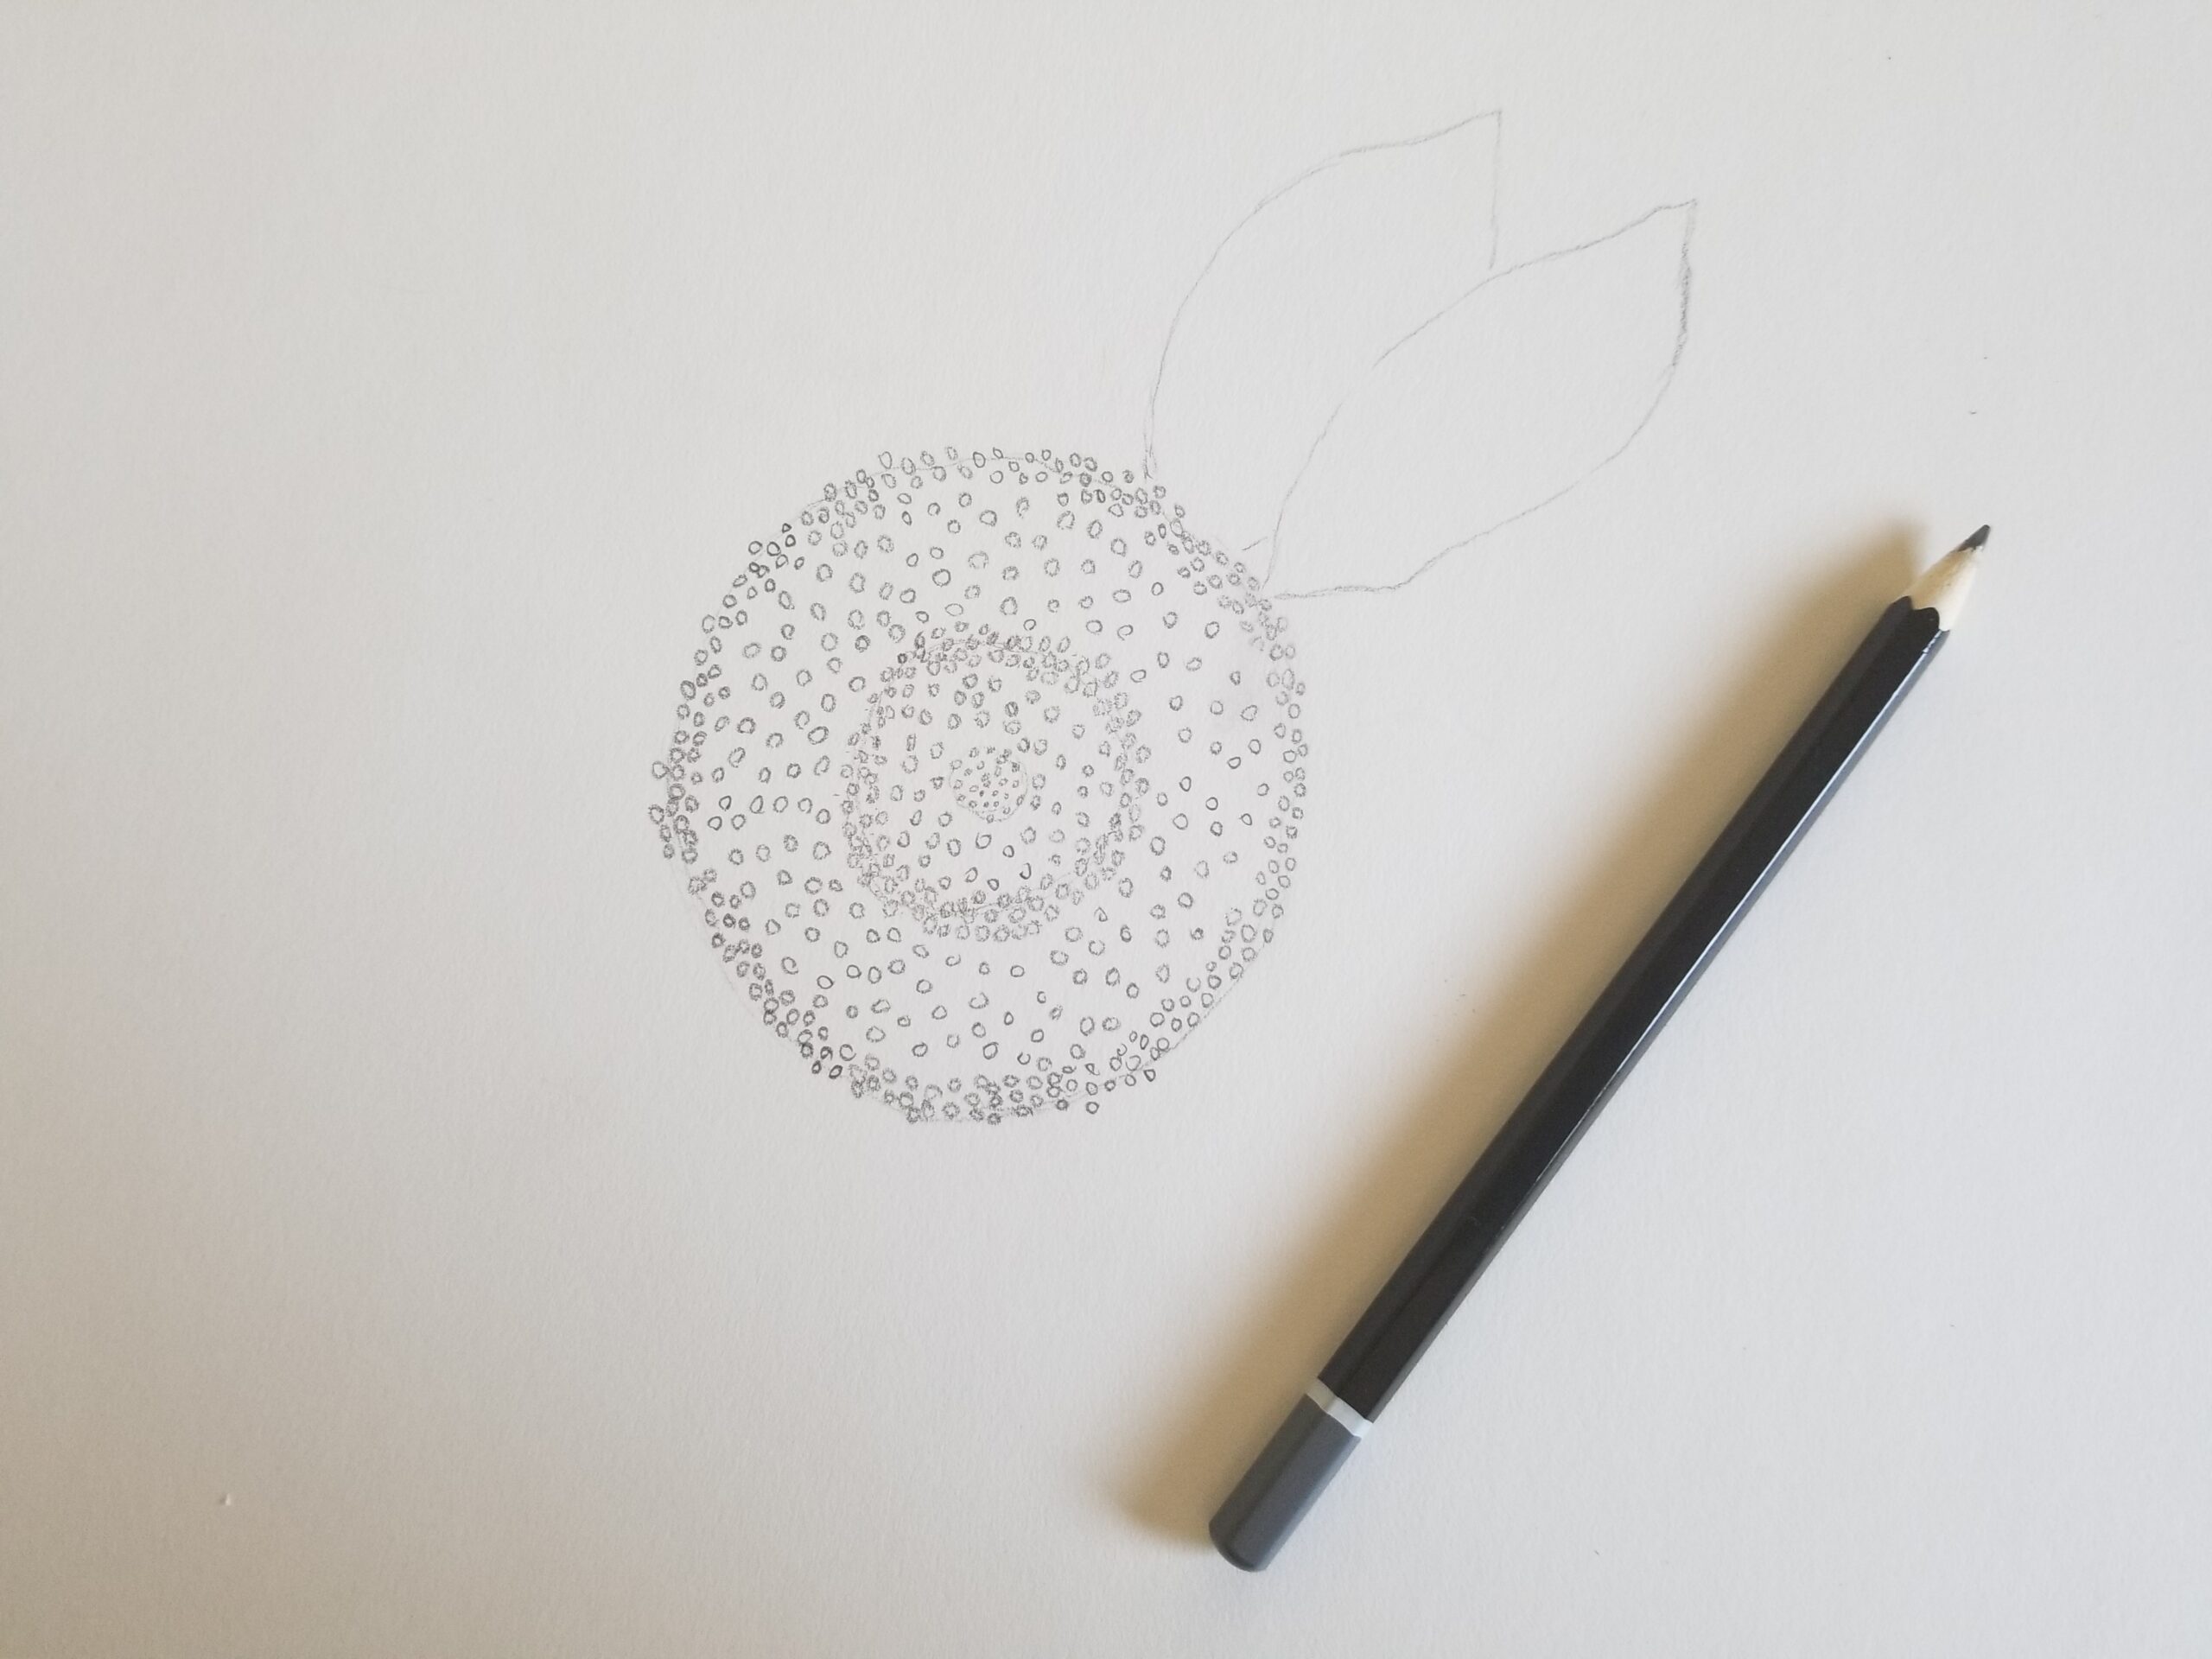
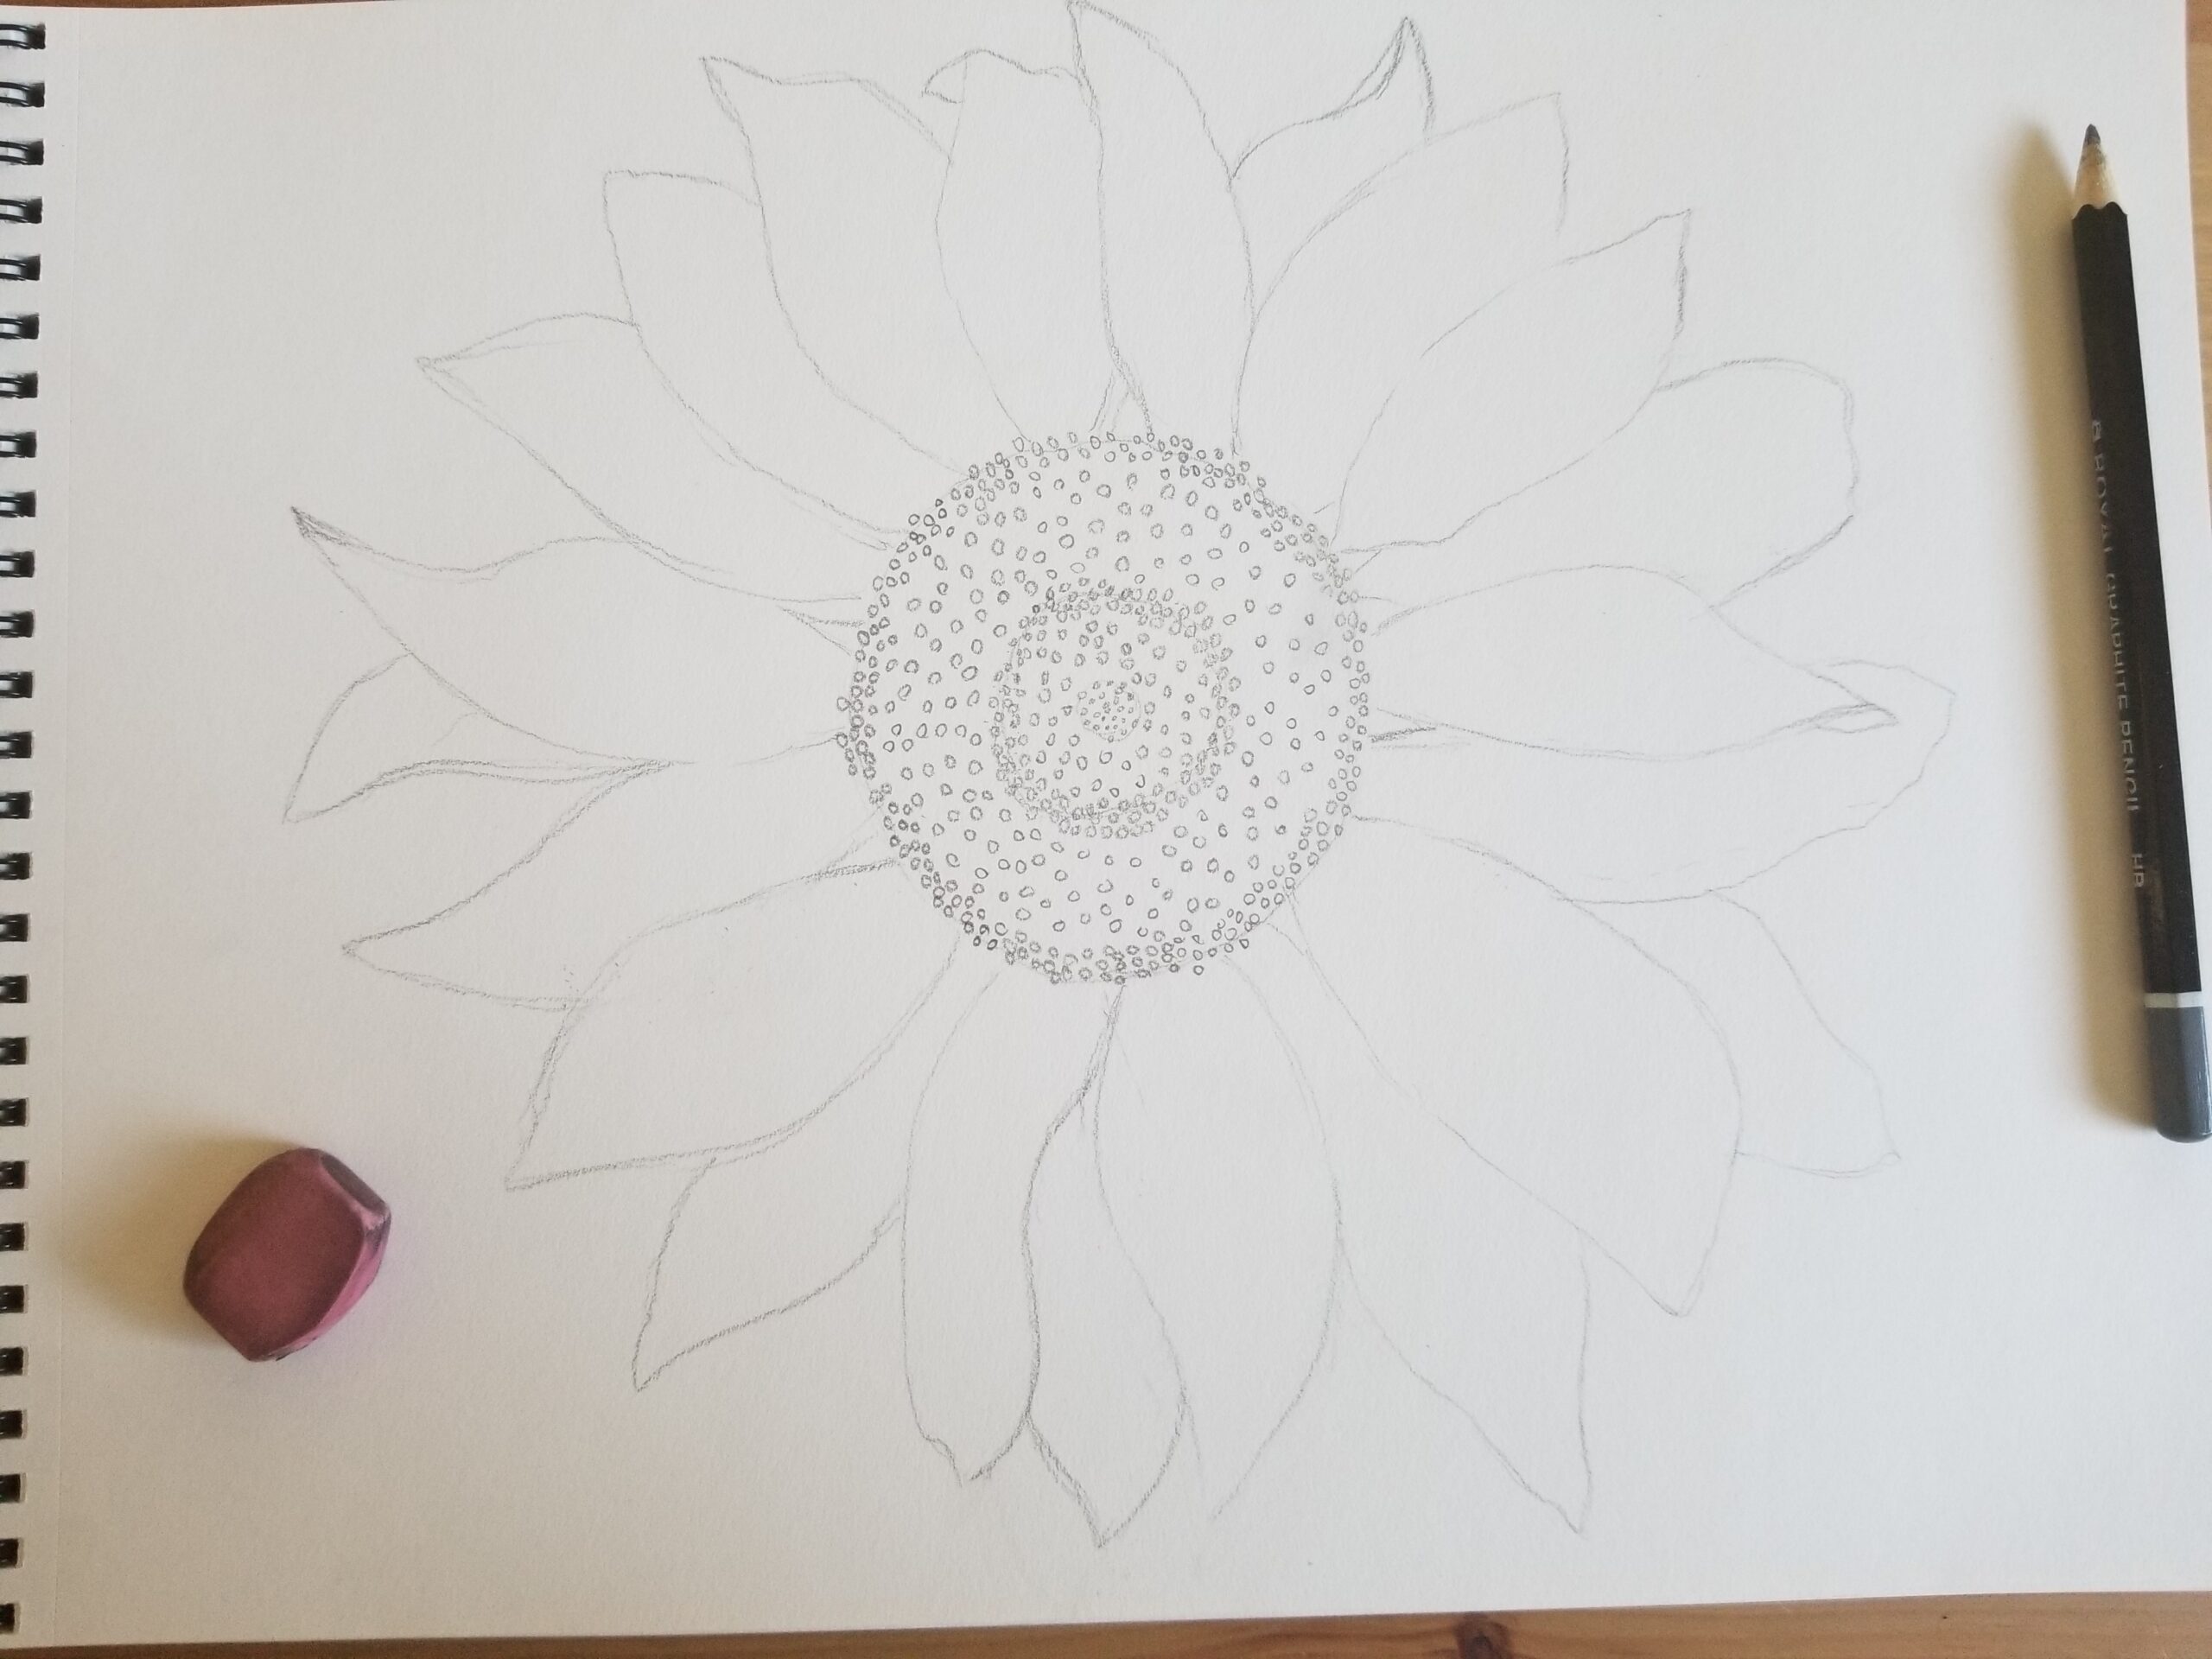
After you get the center, you’ll start with the petals. Consider the shape of the petal, but notice not every petal around the flower is the exact same. You can practice the shape of the petal on another piece of paper if you’d like, but don’t worry about “perfecting” it. Draw them around the center. Make sure to add lines for folds of the petal.
Add in details. Add the details to the center if you haven’t already. Now you’ll need some lines to help give the petals the curves it needs to feel real. Keep in mind a straight line won’t show off the curvature of the actual flower. Draw in detail lines with curves in the direction the petal curves. If the petal has rough edges, add in tiny lines to show this. Some flowers are simple and don’t need as many detailed lines. Sometimes flowers/petals have lots of curves that cause shadows. Make sure you are putting lines to show off the appropriate amount of details.
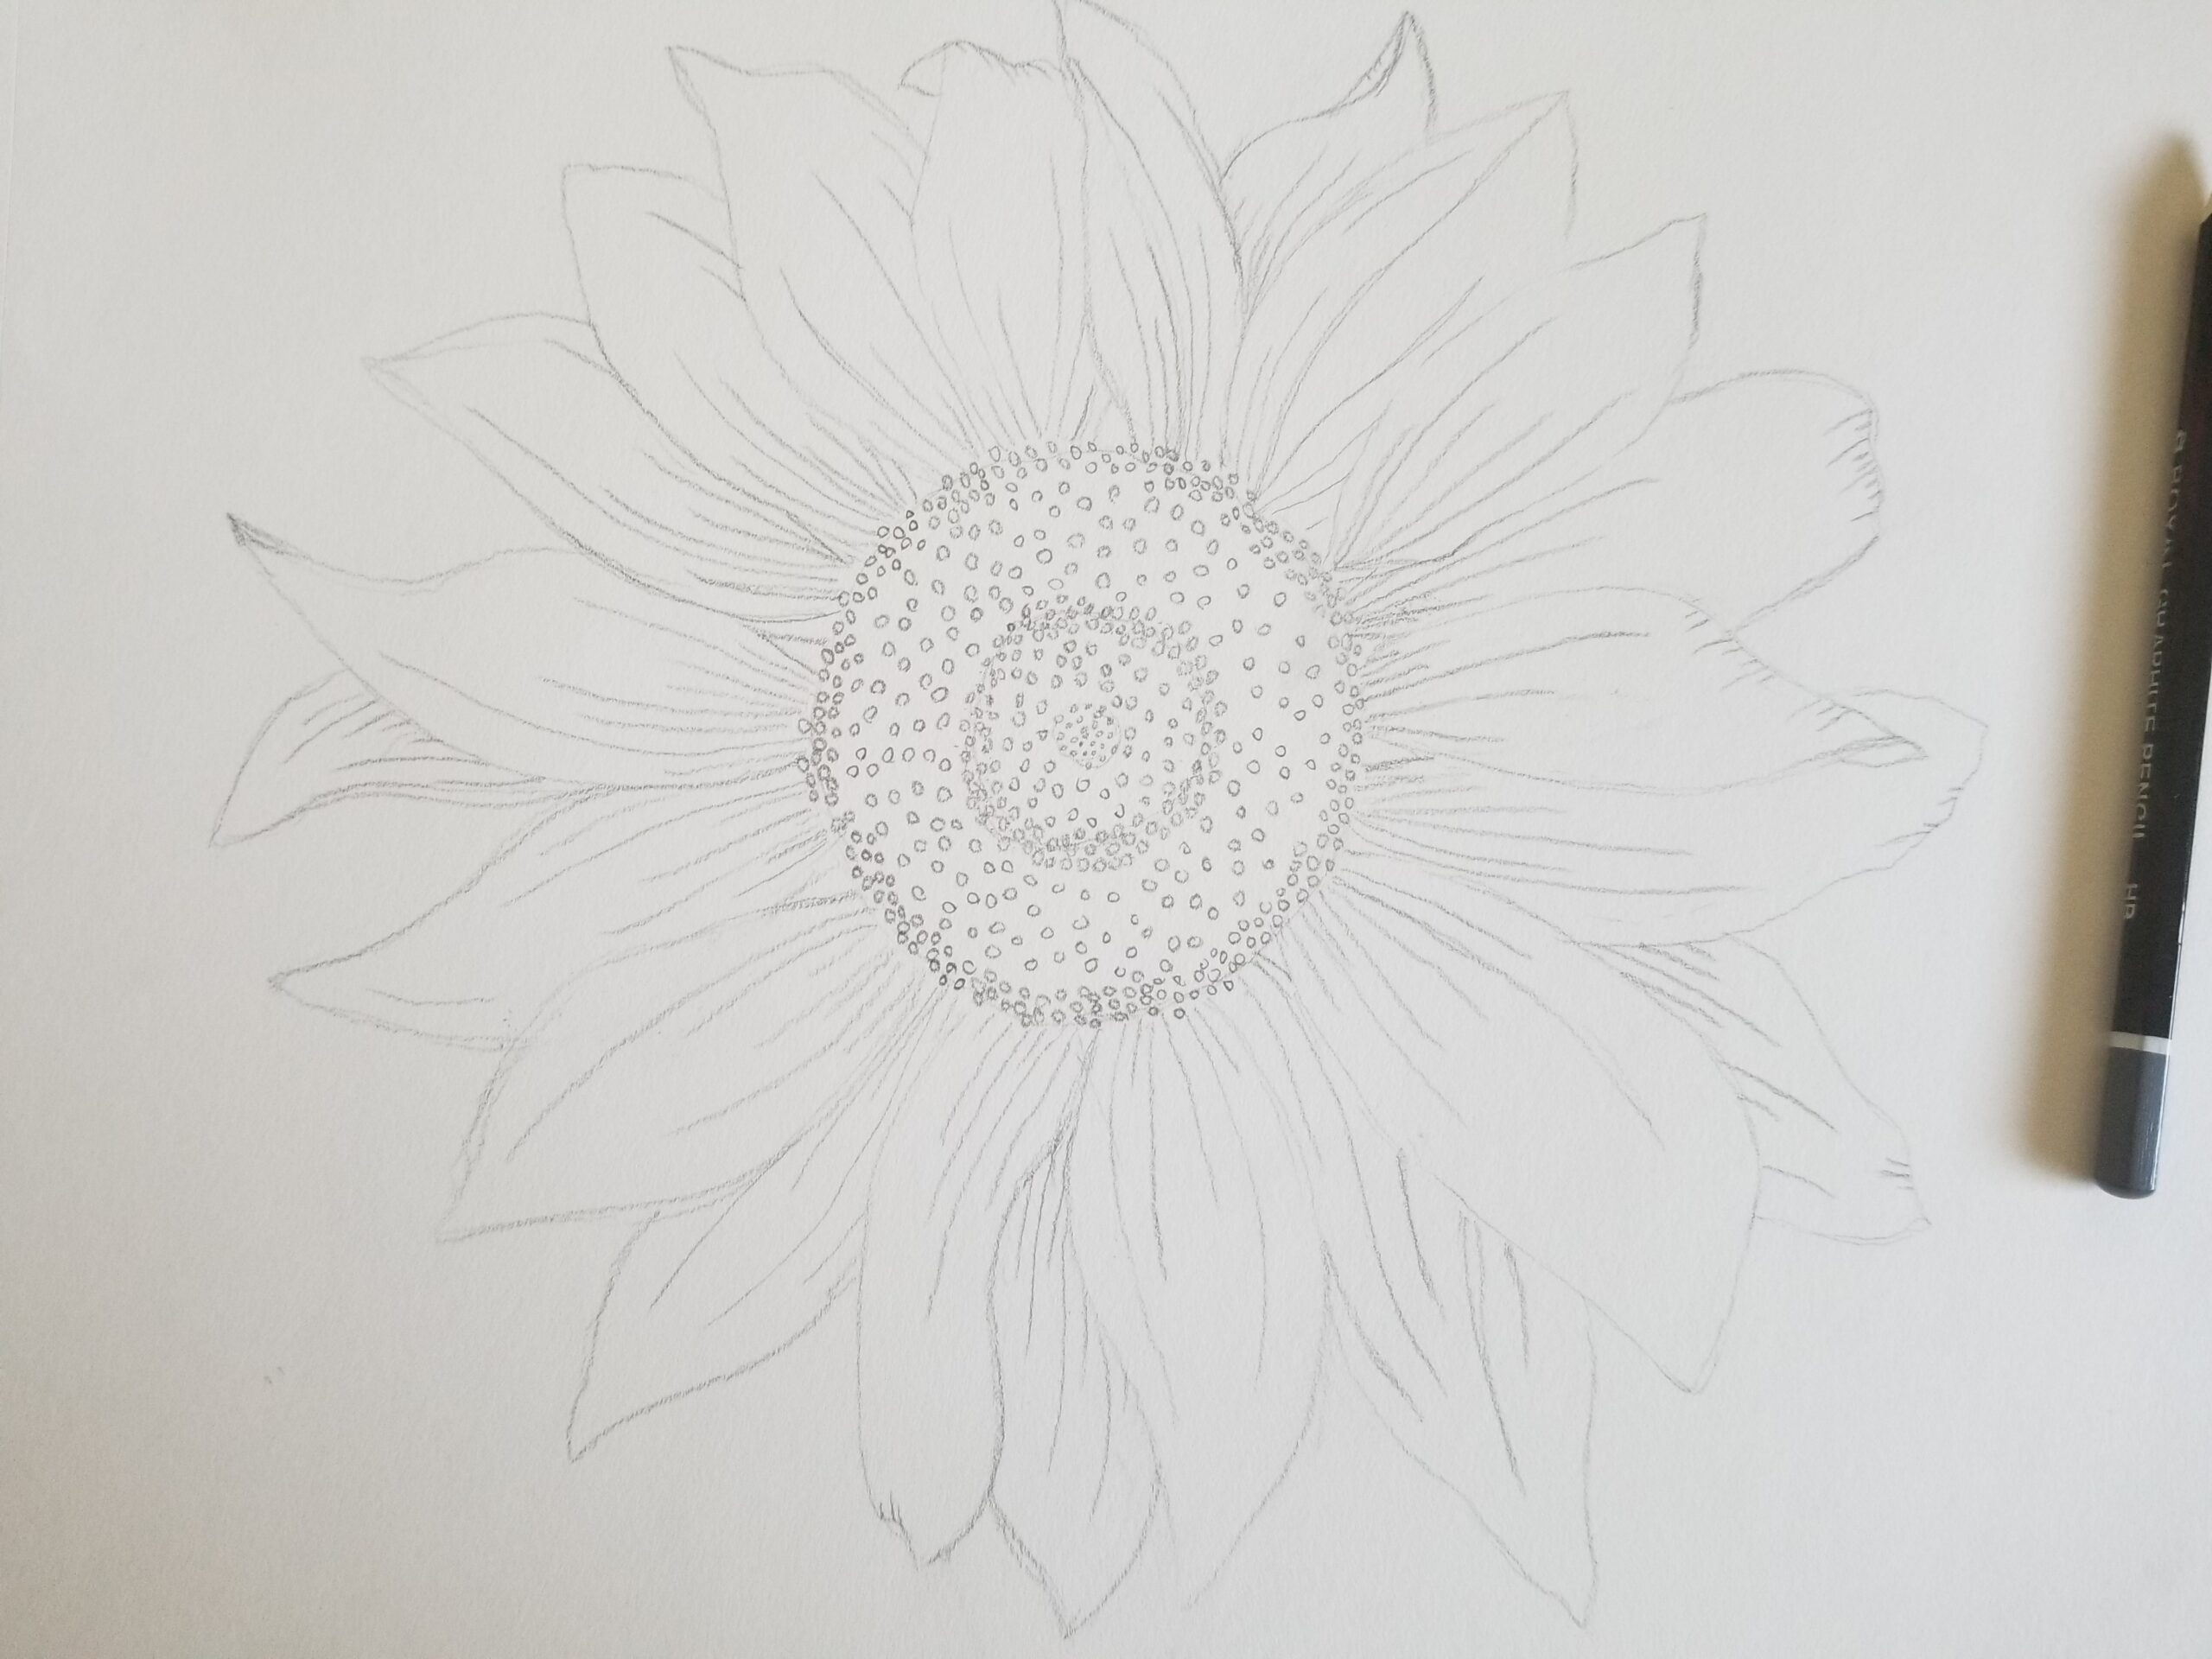
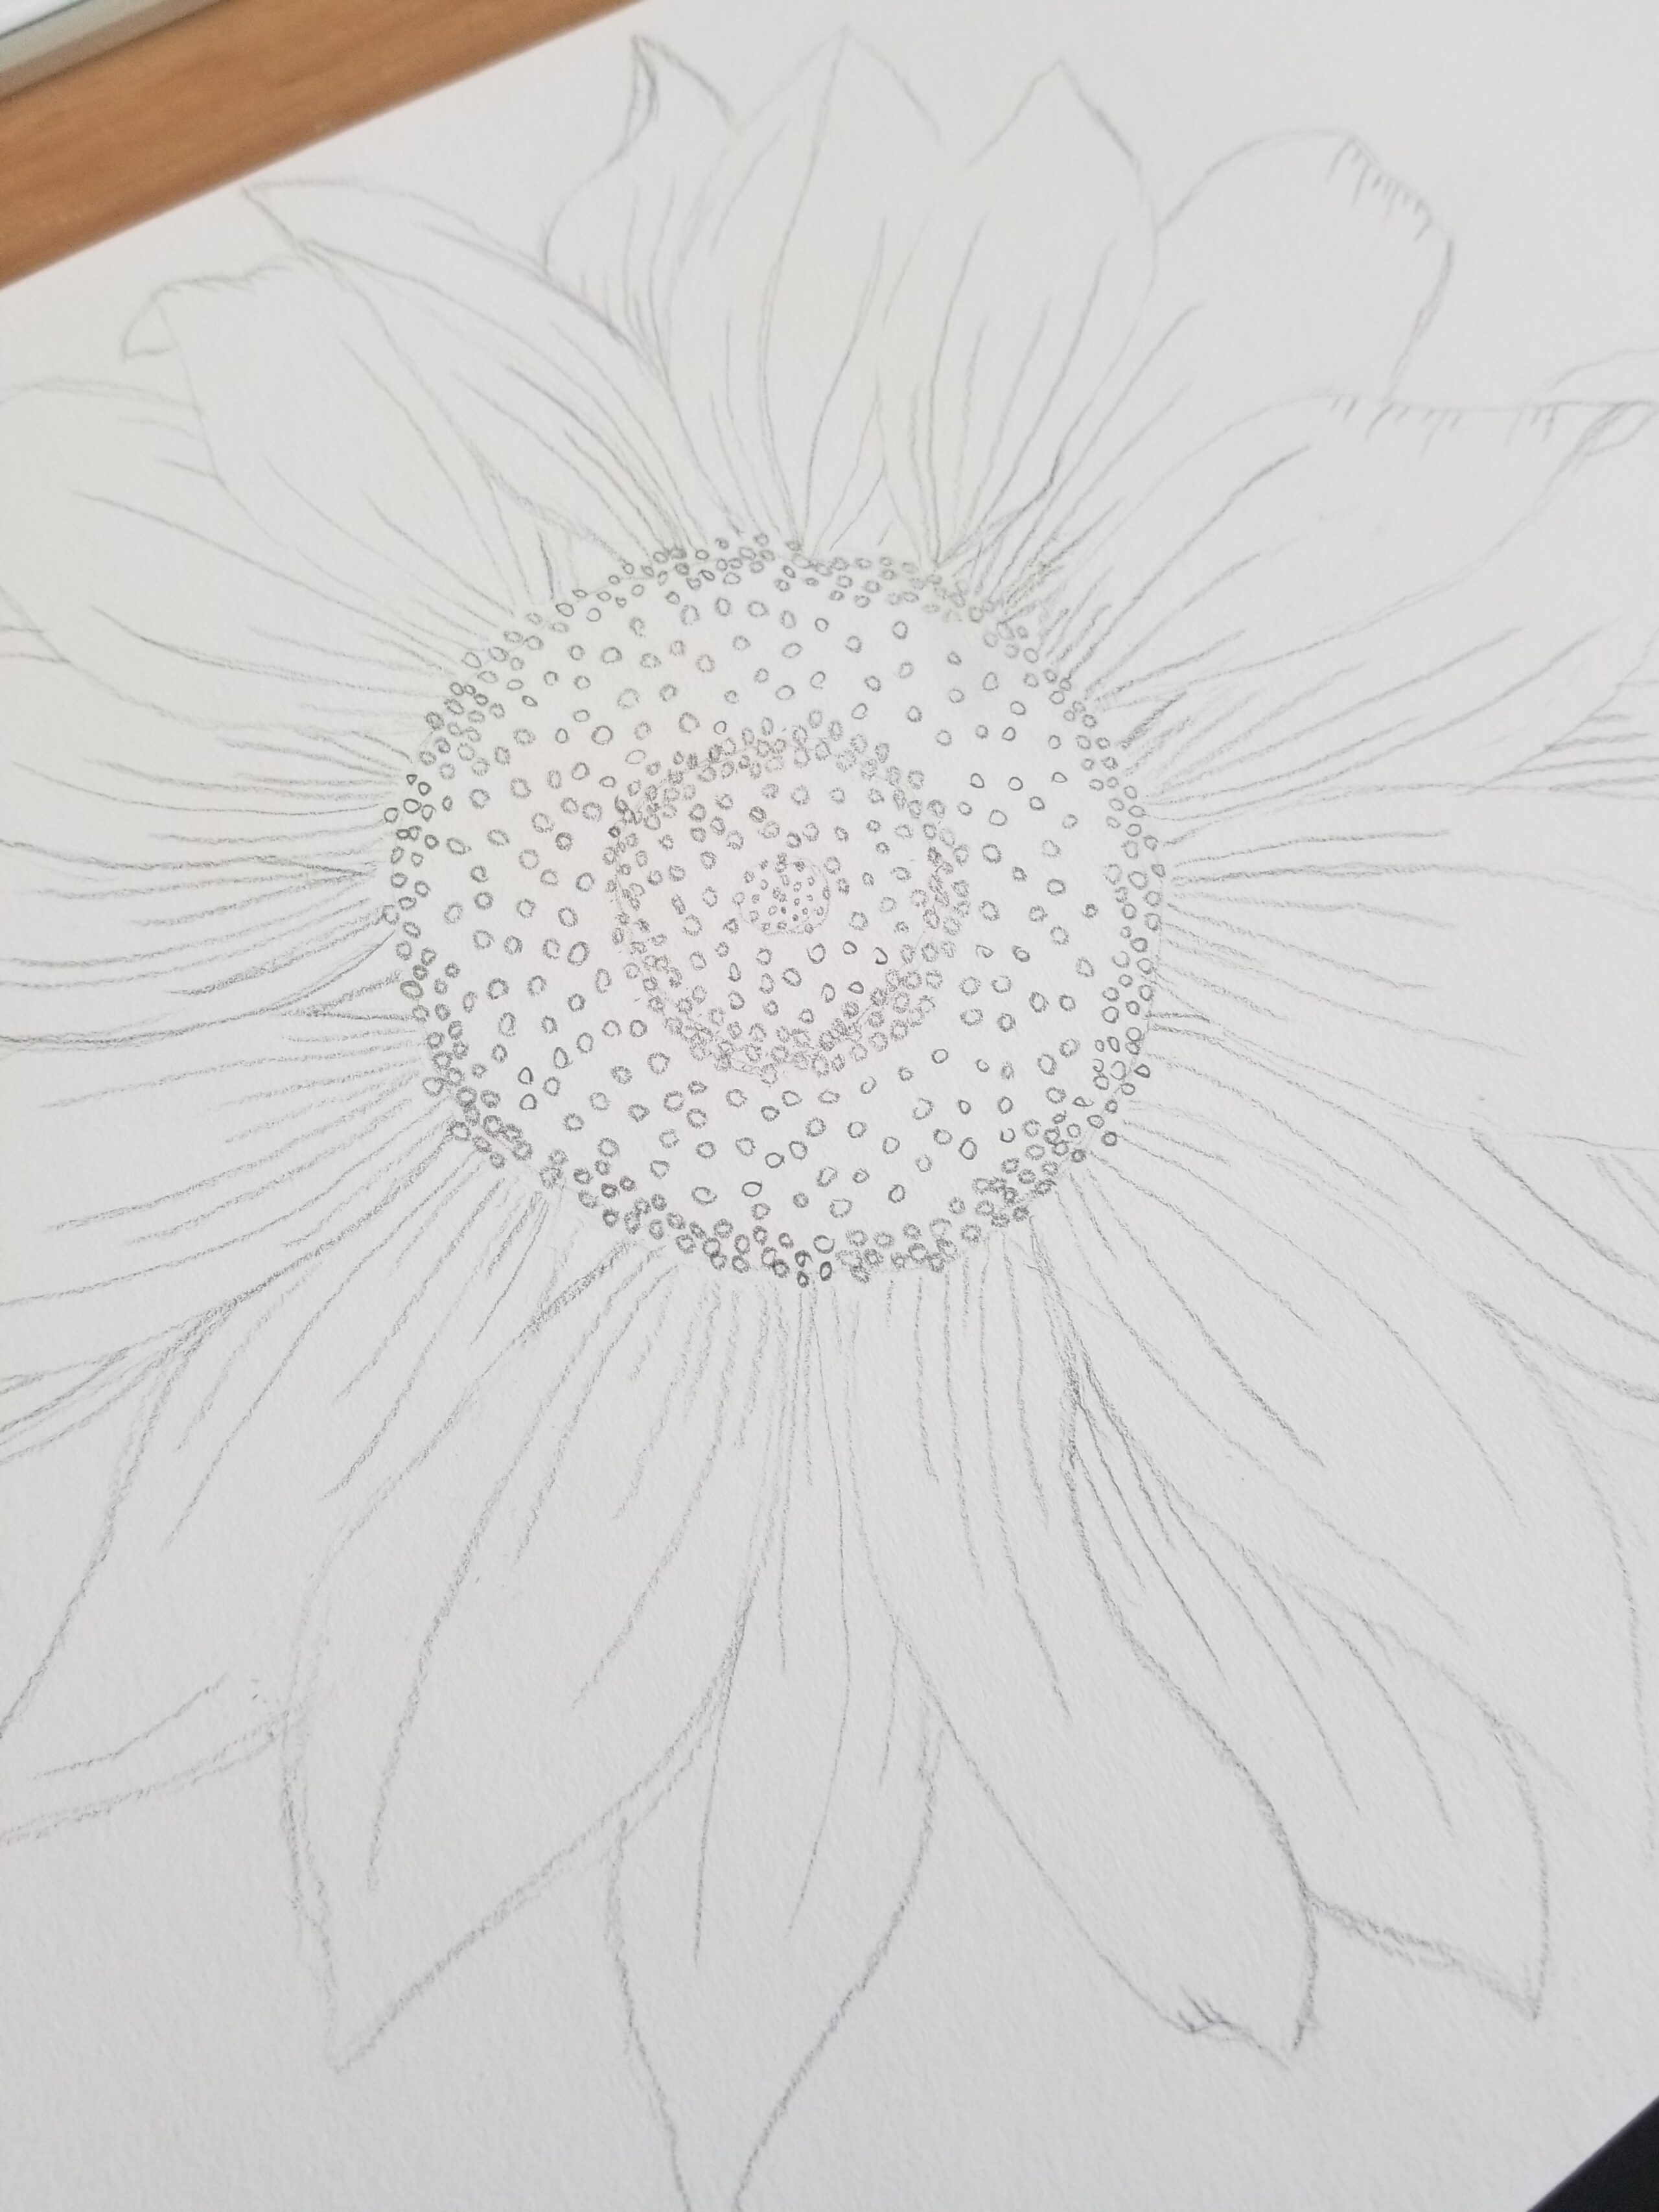
If you are happy with the flower you drew and you drew the flower in pencil, this is a perfect time to go over it in pen. {Pens I use: Set 1 & Set 2} Go slow. If you have tracing paper + light box, this will be super helpful! If not you can just go over your original.
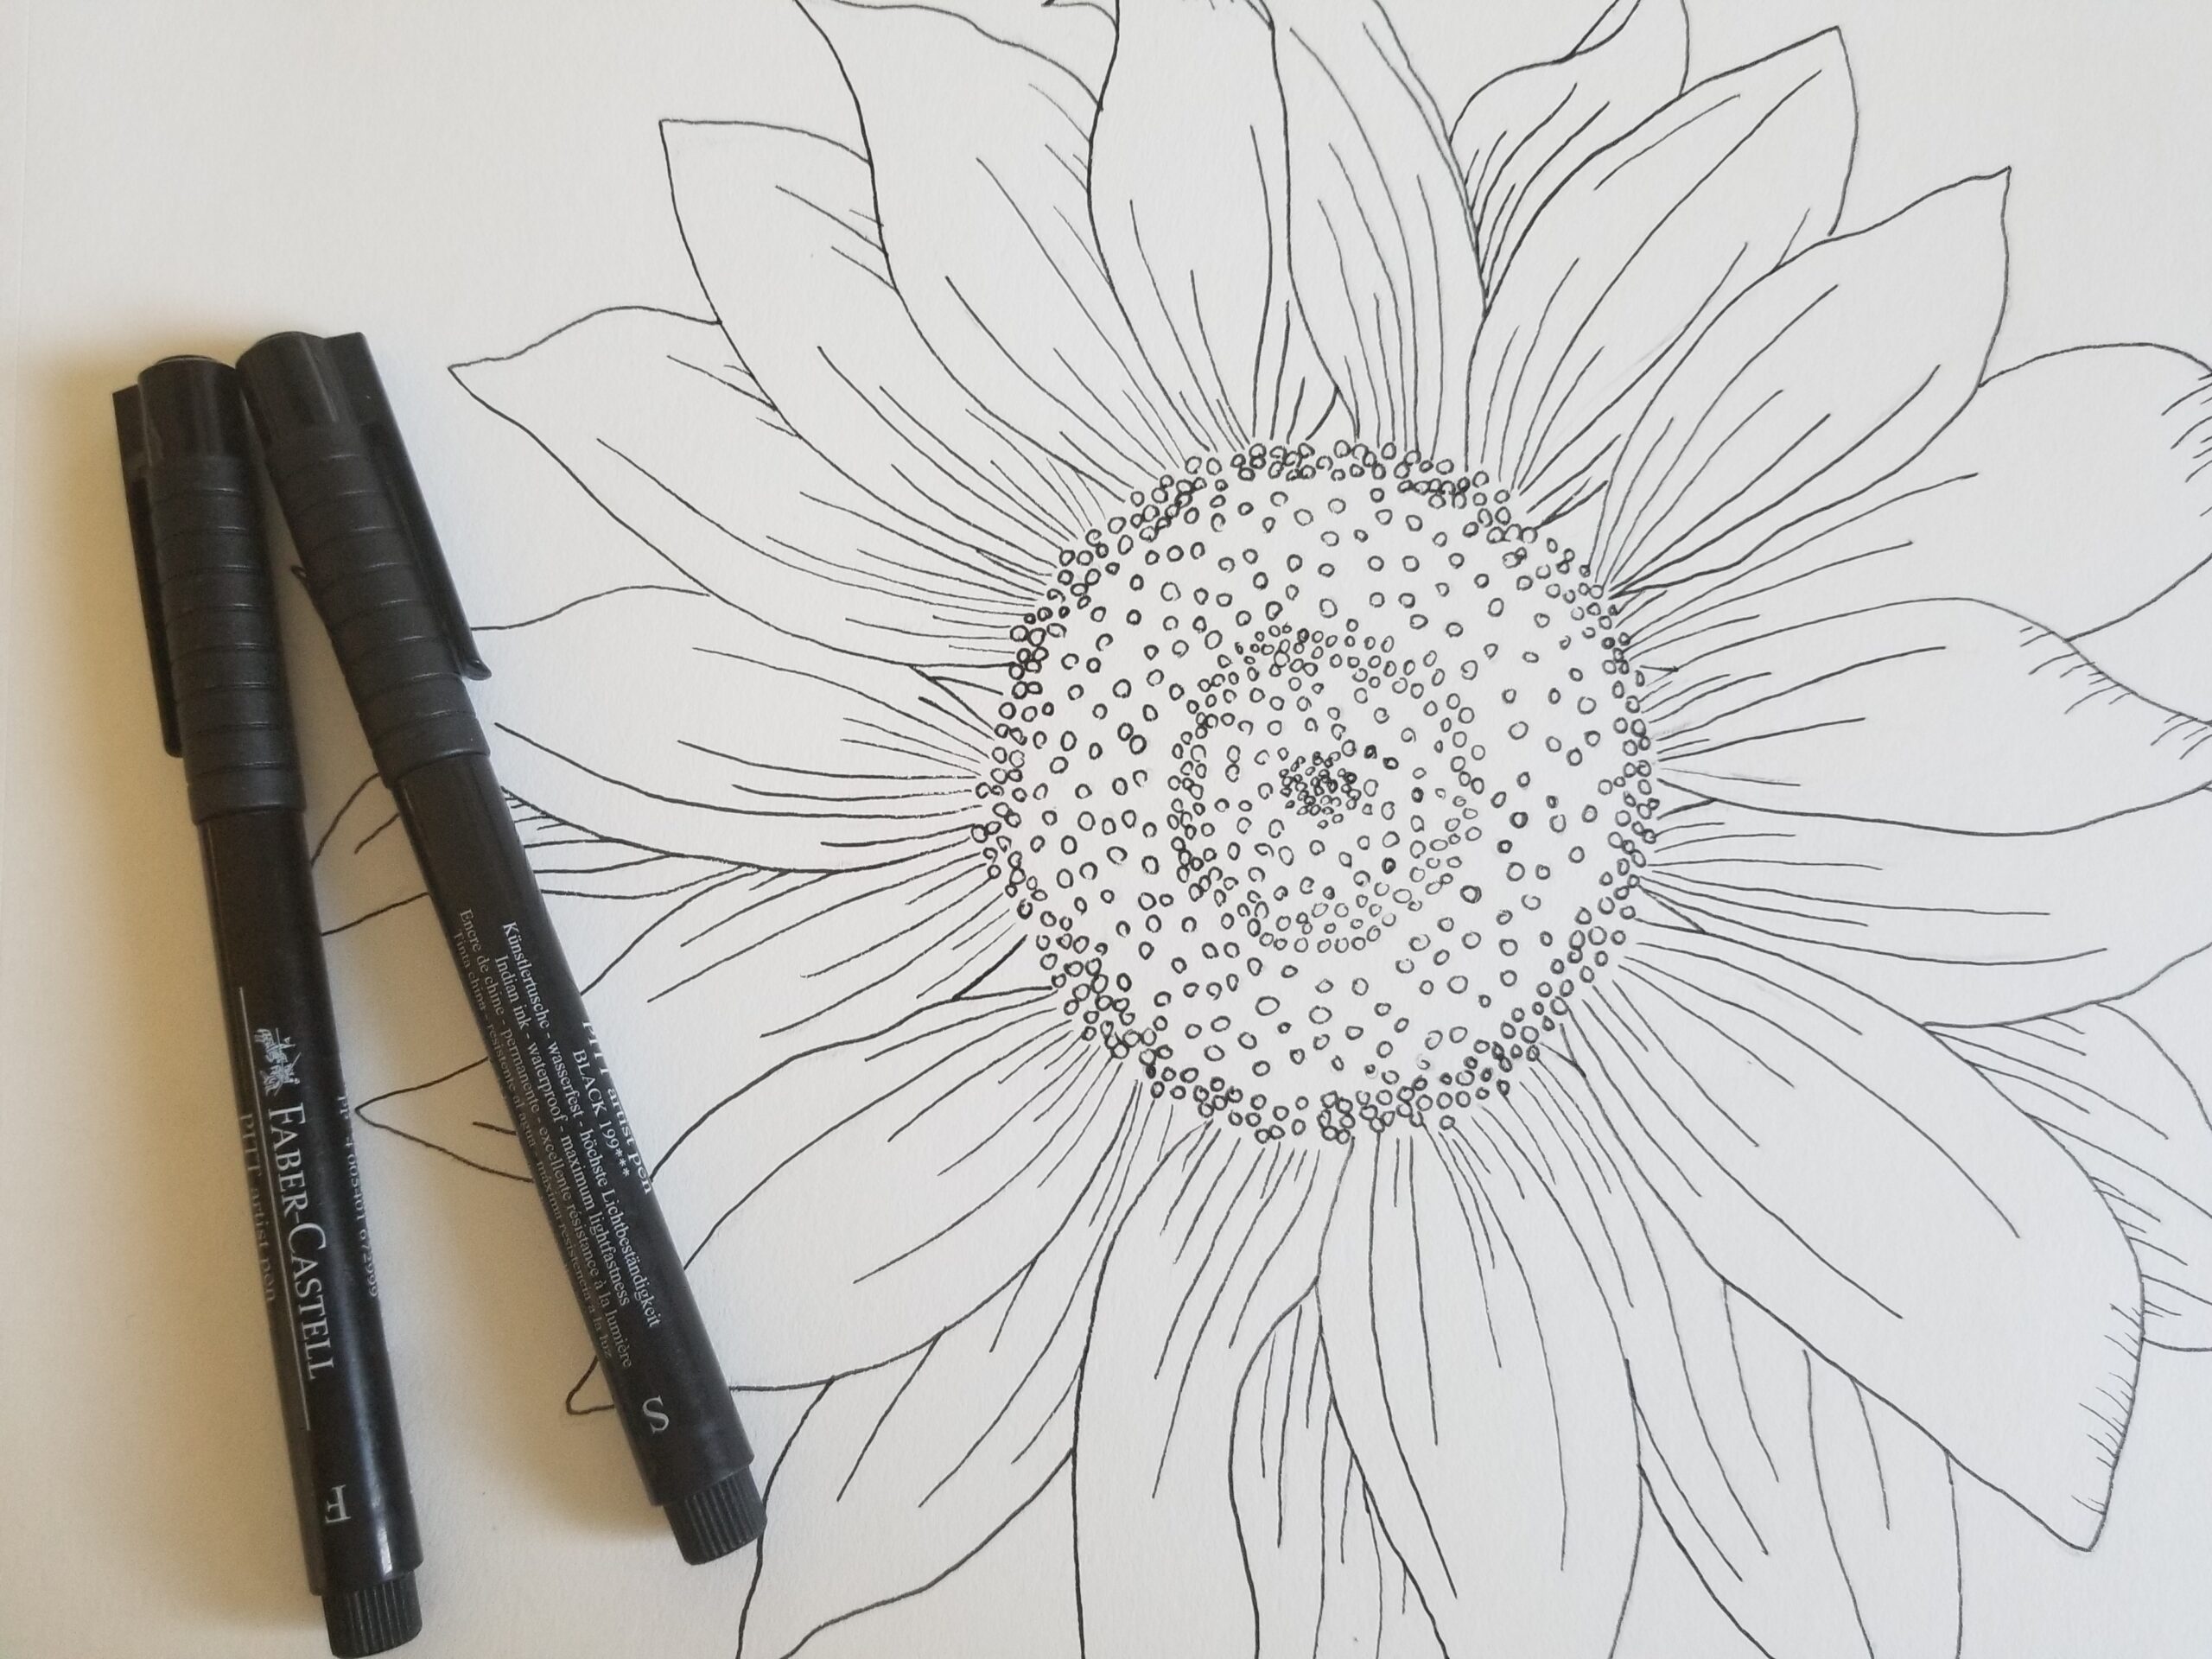
Now, keep practicing! I have never considered myself the best artist, but I still find drawing fun and relaxing. The more I’ve worked at it, the better I’ve gotten, so keep at it! Next week I’m going to discuss getting your drawing on to the computer. Work on drawing as many flowers as possible so you can pick your favorite one to work on next week.
How to Draw Modern Forals by Alli Koch
Botanical Line Drawing by Peggy Dean
Draw 500 Flowers by Lisa Congdon
Check out Skillshare for a variety of classes to help brush up on your drawing skills
Let me know if you have any questions in the comments section!
Here is a look at how this tutorial will be broken down so you can follow along!
Just a side note, this is just a written tutorial for now – depending on popularity and feedback I’ll consider filming a class for Skillshare.